Configure ownCloud Desktop Client in Windows 10
Configure ownCloud Desktop Client in Windows 10
This article describes how to download, install and configure the ownCloud desktop client in Windows 10, so your files are synchronized with an ownCloud server. Setting up the server side is not part of this tutorial, instead we assume you have a server running and you know the server URL, your username and a password. This tutorial, however, covers the case that you have been synchronized with a server already and now want to connect to different server.
If you don’t have the ownCloud client installed yet, follow steps 1 and 5.
If you are already connected to a server and want to synchronize with a different server now, follow steps 2-7.
Let me know in the comments below if you hit any issues or would like to see steps changed. I appreciate your feedback!
Let’s get started:
1. Download the ownCloud Desktop Client
You can download the latest stable version of the ownCloud Desktop Client from the ownCloud download page. Scroll a little bit down until you come to the ownCloud Desktop Client section. Downloads are available for MacOS, Windows and Linux.
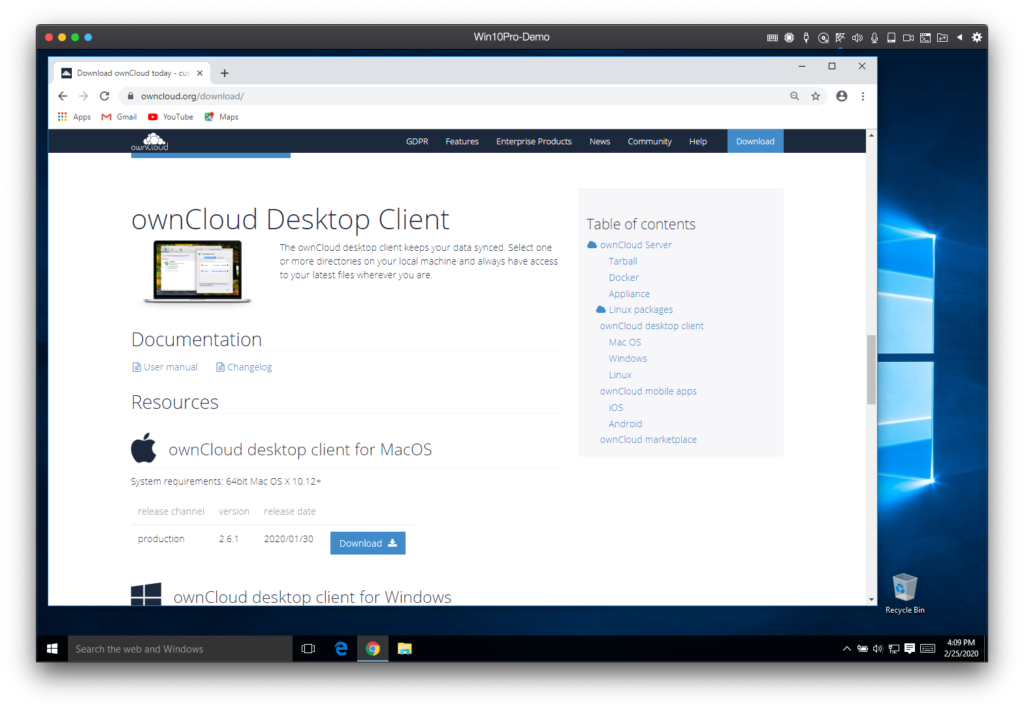
Click on the download link for Windows and choose to run the installer after the download has finished. Follow the instructions to install the ownCloud Desktop client on your windows.
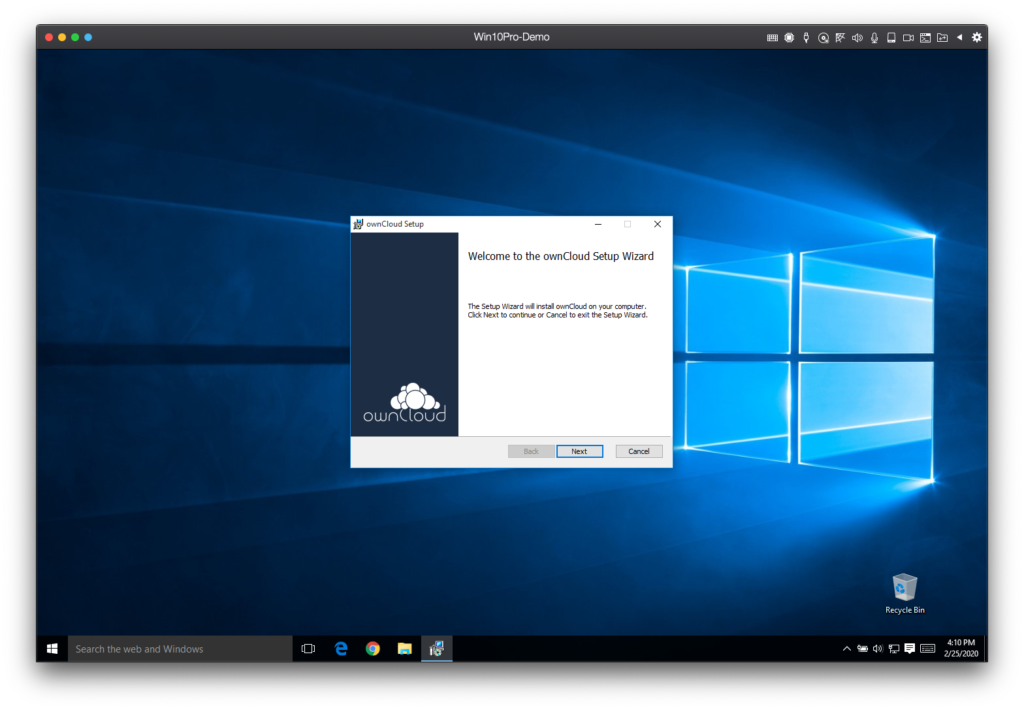
After installation, don’t forget to reboot Windows.
2. Disconnect from the old ownCloud server
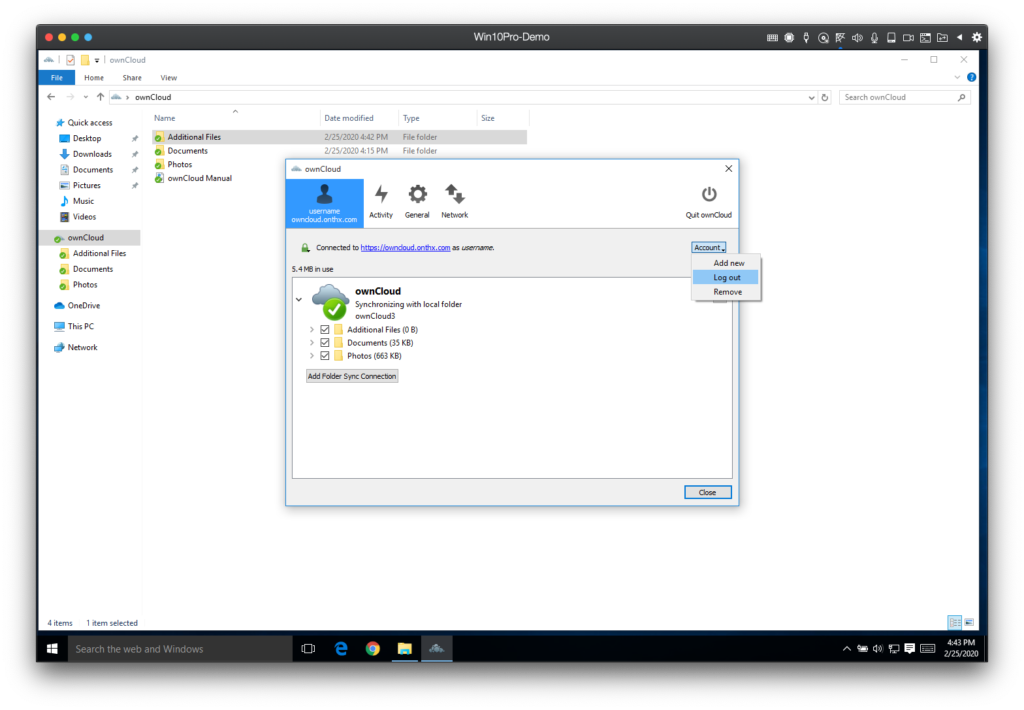
Open up the ownCloud client by clicking on the little ownCloud icon in the taskbar. The icon might be hidden under this little up arrow at the very left to the icons.

This opens up the ownCloud client window that has a little Account button on the right hand side. Click on it and choose Log out. This will disconnect you from the server you are currently connected with.
3. Rename the existing ownCloud directory
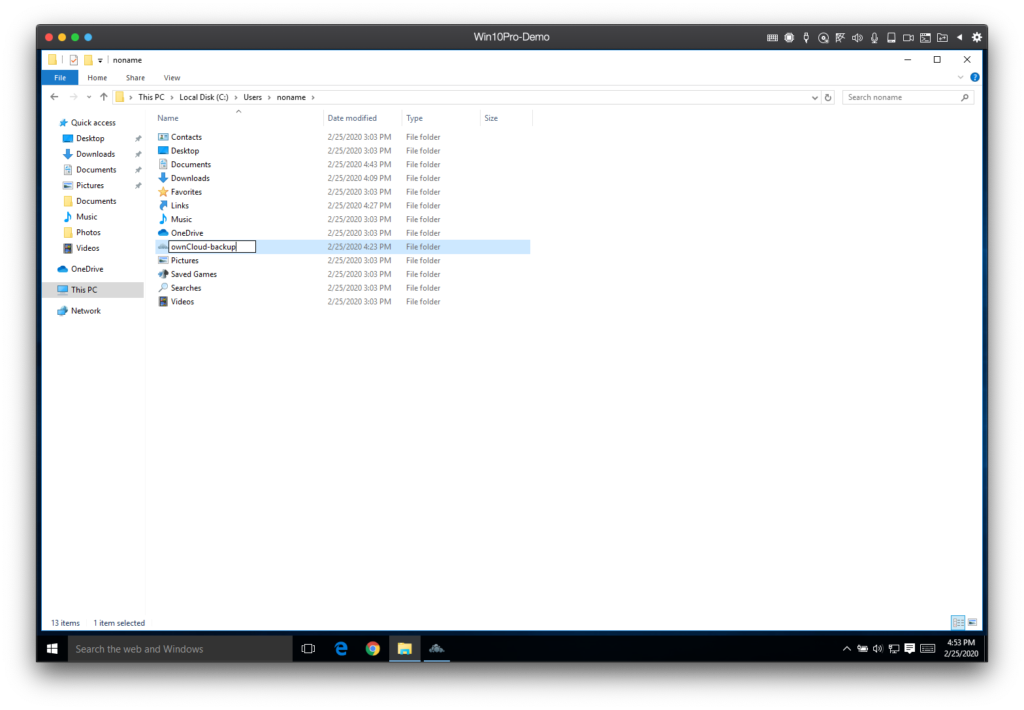
Navigate to This PC->Local Disk (C:)->Users-><your username>. There you should find an ownCloud directory. Right-click on it and select rename. Just add -backup to the end or whatever you find suitable and hit <enter>. Keep the directory open, we need it later.
4. Remove the old server
Bring up the ownCloud client window again. Click on the Account button and select Remove this time.
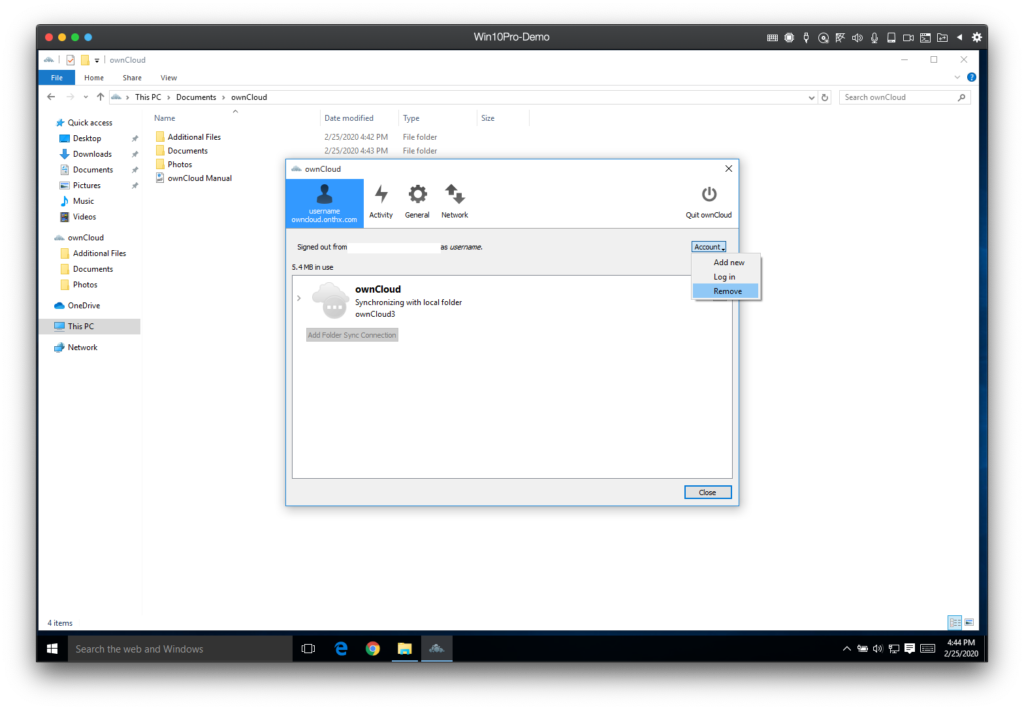
A new window will pop up to confirm the old account to be removed. Click on Remove connection here.

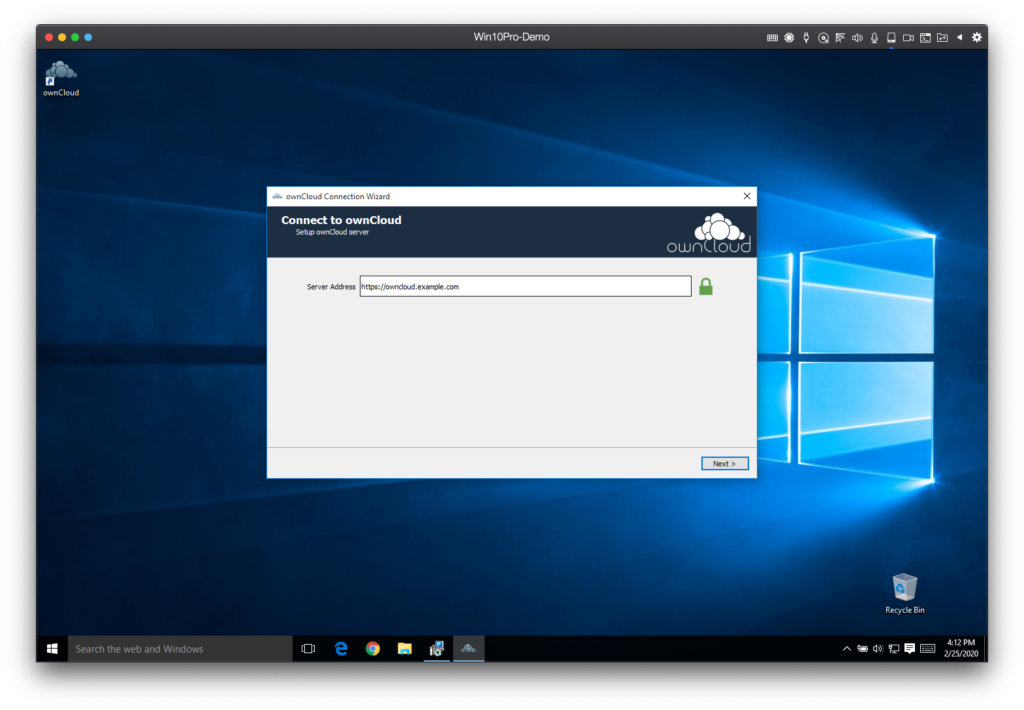
5. Connect to new ownCloud server
Open up the ownCloud client again by clicking on the little ownCloud icon in the taskbar at the bottom. Remember, it might be hidden under this little up arrow at the very left of the icons. If so, click the arrow and then click the ownCloud icon. This brings back the first screen of the client where you can enter the server address.
Enter the new server address into the filed and click next.
In the next window you will be asked to enter your username and password. Enter both and press next.

On the next window you could make adjustments to what to sync and where, but in this example we leave everything as it is and just press connect.
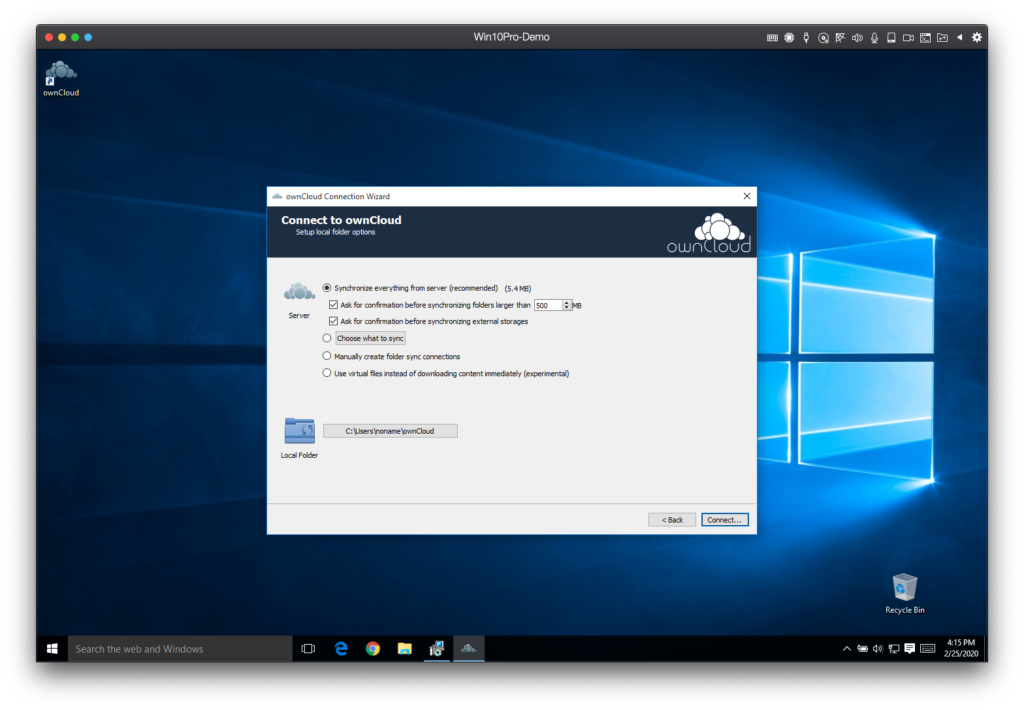
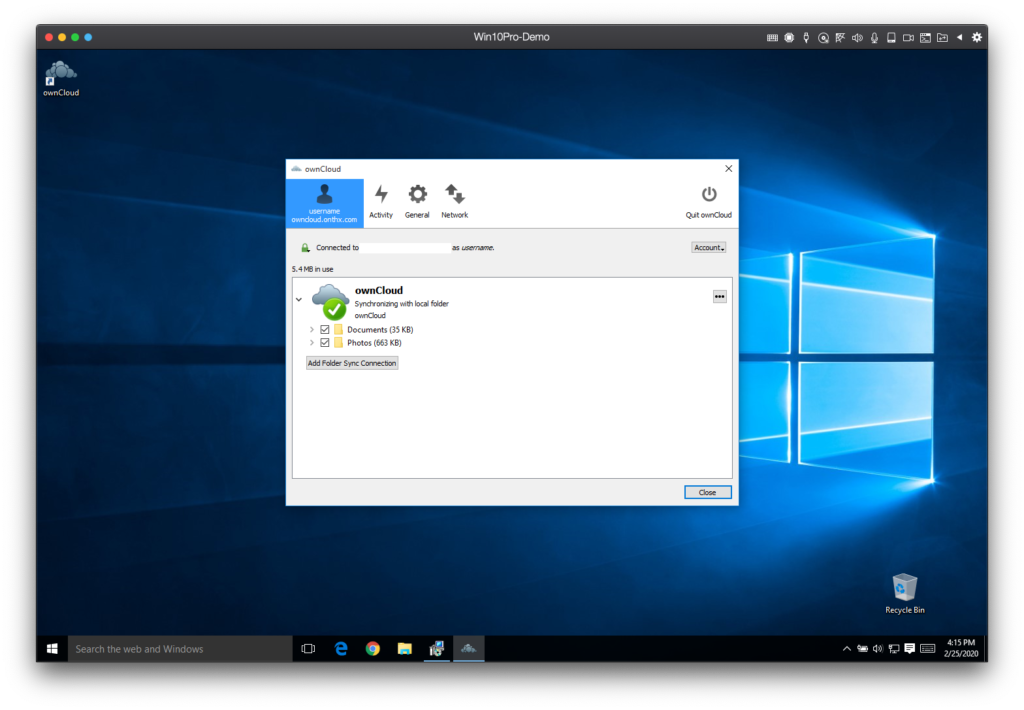
Now all our files will be synchronized from the ownCloud server and saved to the local hard drive.
6. Copy previous content to the new server
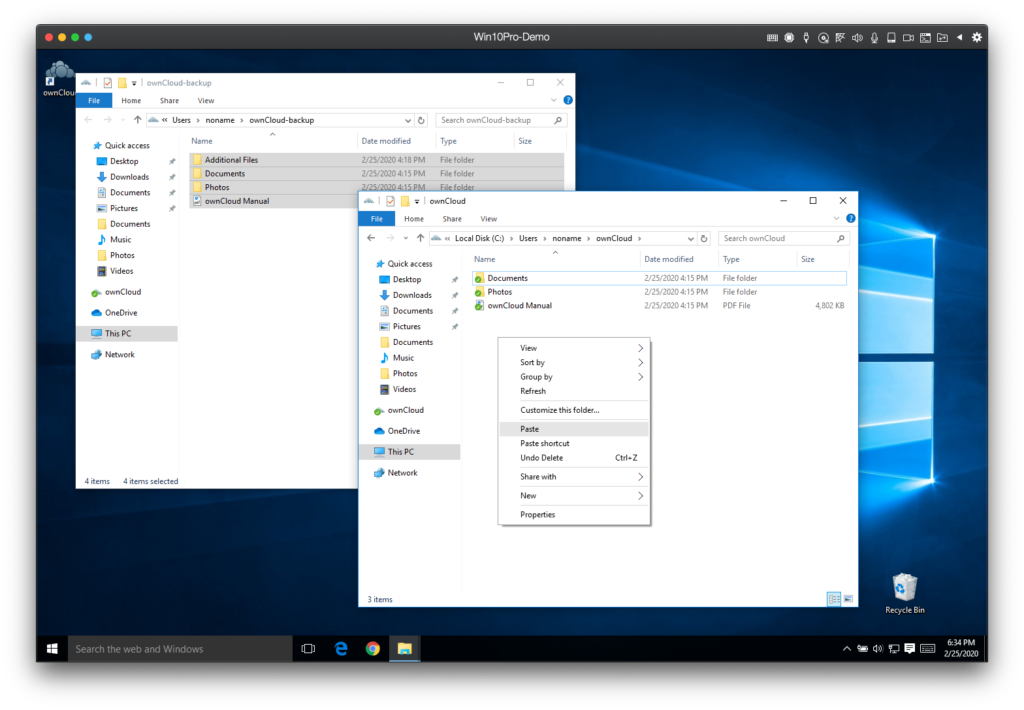
Have a look at the window that we left open earlier. There you will find a new directory owncloud beside the directory owncloud-backup that we renamed earlier.

Right-click on owncloud-backup and open the directory in a new window. Select everything and right-click on the selection. Select Copy.

Now open the owncloud directory by double-clicking it, right-click the background and select Paste.
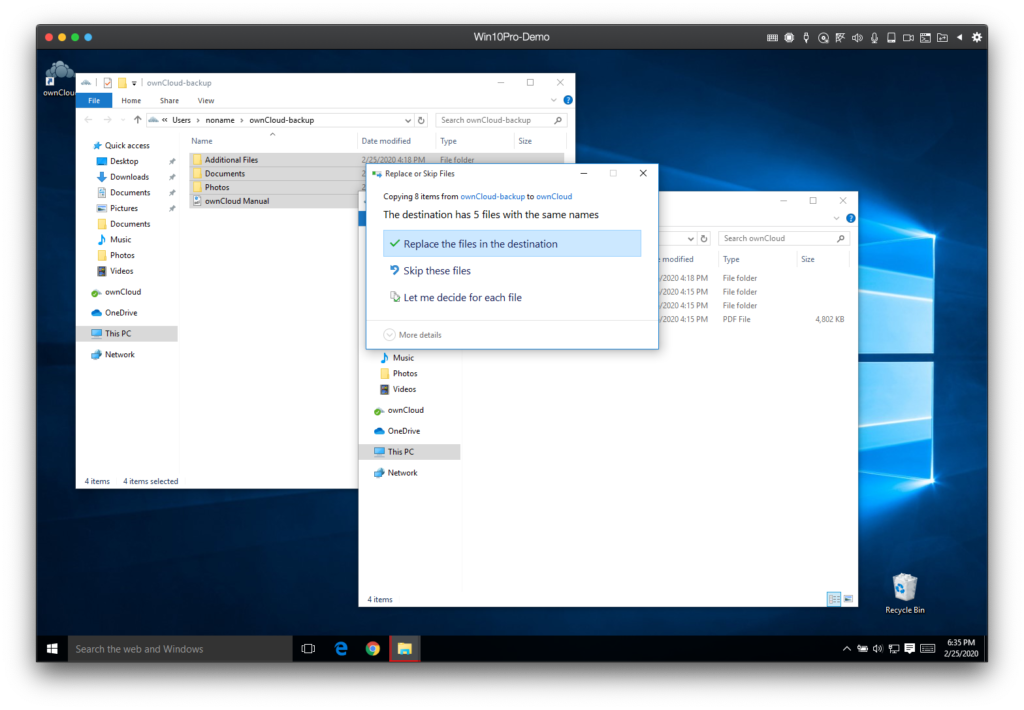
A window will appear to ask you how to handle duplicate files. Here we choose Skip these files.
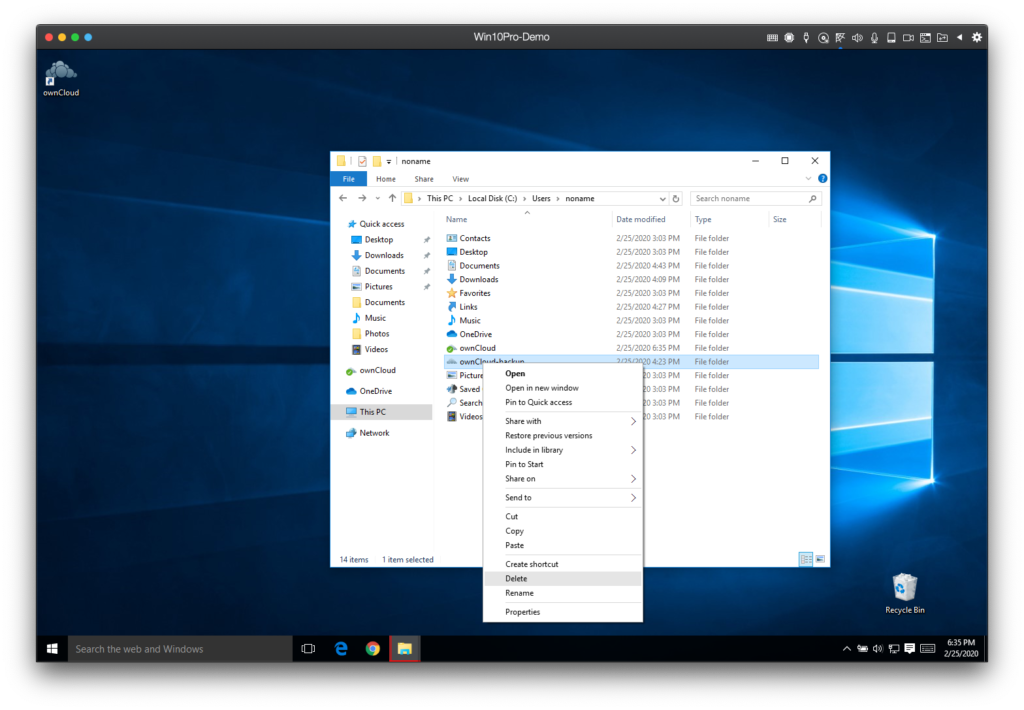
7. Delete the old owncloud directory (Optional)
You can right-click the owncloud-backup directory and select Delete or you can keep the directory around, at least for a while, just to make sure.
Done
That’s it. You have now successfully connected to ownCloud and all files you copy in there will be synchronized to the ownCloud server without any interaction from your side required.