Setup macOS Catalina on separate APFS volume
Would you like to try out macOS Catalina without giving up your current High Sierra or Mojave installation? What you want is probably a dual boot option where you can boot into one system or the other. Keep reading and learn how you can set this up on a APFS ready system:
Create a bootable USB drive
Download macOS Catalina
You can download macOS Catalina from the App Store on your Mojave system. If you don’t find macOS Catalina right away on the first page, just open App Store and type macOS Catalina in the search filed in the upper left corner. Click on the search result and then on Get to download it. The download will probably take a while and start automatically but don’t install Catalina yet. Quit the installer with CMD+Q. You should find a Install macOS Catalina.app in your Applications folder. Don’t click it though, we are not going to upgrade the existing system.
Instead we will create a bootable USB drive from where we can setup macOS Catalina as a second system on our computer. There are 2 easy ways to do that.
Create USB install drive in Terminal
The first one is by using Terminal. Put your USB drive into an empty USB slot. Look at your Desktop and figure out the name of your flash drive. New USB drives are often called Untitled. You should also be aware, that the next few steps will erase your USB drive, so this is a good time to check there is nothing important on it anymore.
When you have the name of your drive, you can press CMND + SPACE and type terminal into the search window. This opens the terminal.app on your Desktop. In the terminal window write the following command (or copy-paste it from here):
sudo /Applications/Install\ macOS\ Catalina.app/Contents/Resources/createinstallmedia \
   --volume /Volumes/<name-of-your-USB-drive>
Replace <name-of-your-USB-drive> with the actual name of your USB drive. If your USB’s name contain spaces, make sure you add a \ (backslash) before each space. My drive, for example, was called NO NAME, so I typed ‘NO\ NAME’. When you are done, hit Enter. Enter your password when asked and follow the instructions in the terminal window. Some 20min. later you are the owner of a new macOS Catalina USB installation drive.
Create USB using Install Disk Creator
Another way to create a bootable USB install drive for Catalina is by using the free app Install Disk Creator by MacDaddy.
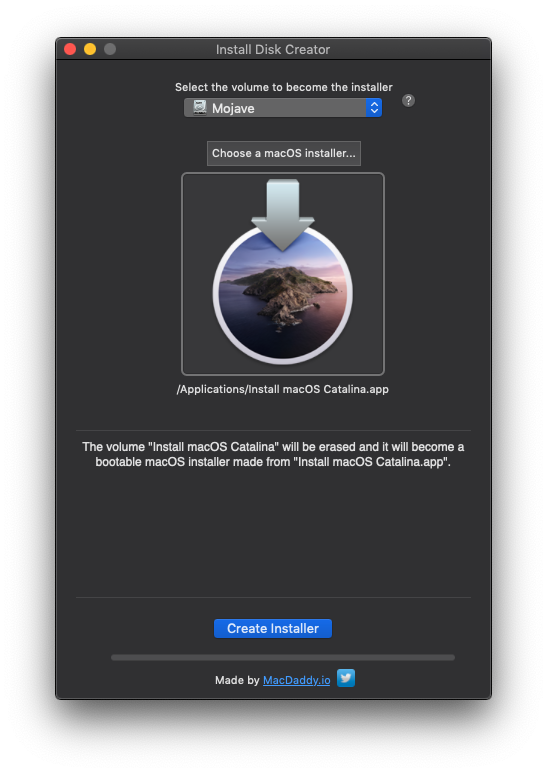
Download the tool and unzipped it by clicking on it if that is not done automatically on your system. Now you should have a ‘Install Disk Creator.app’ in your download folder. You can start the app by double-clicking. On the main window, under ‘Select the volume to become the installer’ select your USB drive. Be careful you pick the right one because the selected drive will be erased. Under ‘Select the OS X installer’ there already should be selected your downloaded macOS Catalina installer. If not, click on the title and in the opening dialog navigate to your ‘Applications’ folder. Select ‘Install macOS Catalina.app’ and click on ‘open’. Now, back in the main window of ‘Install Disk Creator’ press ‘Create Installer’. A warning window will pop up to remind you that it will erase all data on your USB drive. Reconfirm you picked the right drive and press ‘Erase disk’. You will need to confirm this by entering your password.
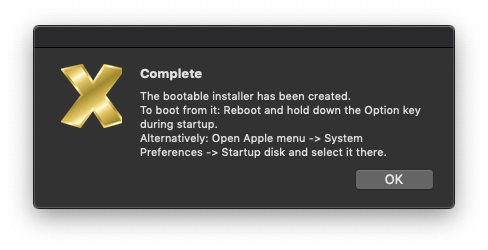
Now ‘Install disk creator’ will create a bootable USB macOS Catalina drive for you. Once it done you see a window similar to this one:
Install macOS Catalina
Create new APFS volume
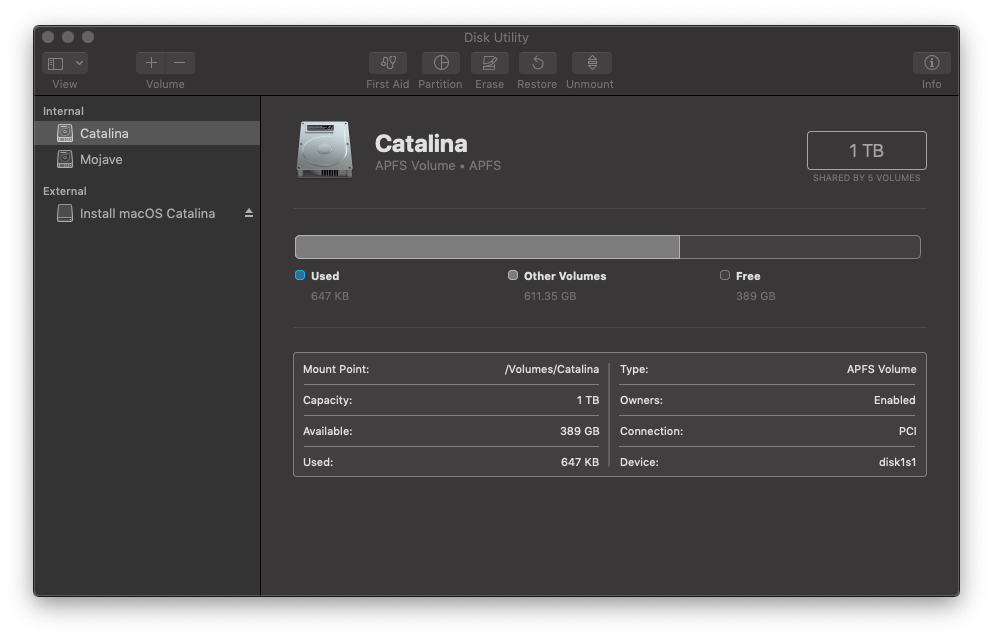
Once we have a bootable USB drive we can create a second APFS boot partition on your computer. The convenient thing about APFS volumes is that they share the available space between partition. So space freed up in one partition can be used in another one.
To create the new partition Open Disk Utility, which is in the Utilities folder of your Applications folder, and select your Mojave drive in the sidebar on the left hand side. You can add a new portion by either choose Edit->Add APFS Volume from the menu bar or by click the ‘+’ symbol in the toolbar. Give your new partition a name and click add.
That’s it. Now you can shut down your computer.
Boot from USB
With your bootable USB drive connected, switch your computer on while pressing the ‘option’ key. Hold the ‘option’ key until you see the boot menu. Select ‘Install macOS Catalina’.
Booting from a USB drive usually takes a lot longer than from hard drive, so be patient. The installer boots into the macOS Utilities menu. Here you should choose Install macOS and press continue. Follow the on-screen instructions and when you arrive at the question where to install macOS, make sure you select the Catalina partition you have created in the previous step. Click Install and continue and the installation begins.
On my system it took about 1 hour and multiple reboots for the installation to finish. After the installation you have working macOS Catalina beside your original macOS High Sierra or Mojave on your machine. To choose what you want to boot, just hold the option key down after you switch on your computer and choose the system you want to boot.